It’s easy to create high-quality paper inserts for your table sign or desk sign. Designing and printing paper inserts yourself will also save you time and money. All you need is a desktop printer and MS-Word and you’re all set to print paper insert signs.
Since Microsoft Word is common to most businesses we will provide step-by-step instructions, complete with illustrations, as to how you can do paper insert signs yourself in the comfort of your office. We understand that a desk sign or table sign insert can be designed in any number of ways but for purposes of this post we’ll keep the desk sign design simple. If you are interested in other design alternatives for your desk sign check out our How To section of the site for different options in creating your paper inserts.
For this exercise we will use the T22 table sign to illustrate the process of creating paper insert signs. The instructions listed below may vary depending on the version of MS-Word you have installed.
Creating Paper Inserts for a Table Sign or Desk Sign using MS-Word
Step 1: Open MS-Word and create a new document by clicking New (Ctrl + N), select the “Office” button in the upper left-hand corner of the screen and click the “New” icon or click the “New” shortcut icon to create a new document. Any of these three options will work.
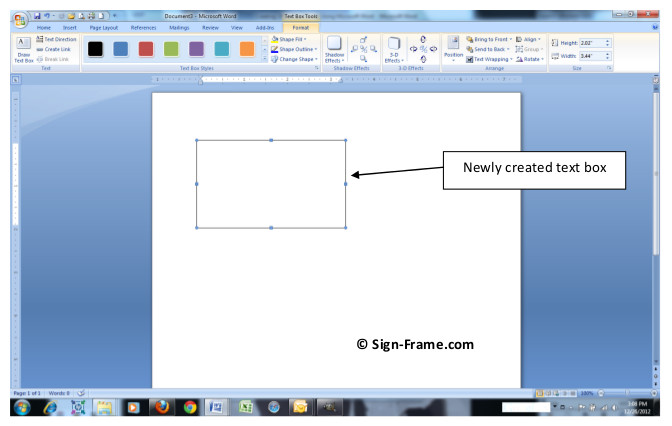
Step 2: Click the Insert Tab. Then click the Text Box icon in the Toolbar. At the bottom of the window click Draw Text Box.Move your cursor to the document (you will see a “+” sign appear) and drag it diagonally across the drawing surface while holding down the left-click button on the mouse.
Release the left-click button and your text box will appear.
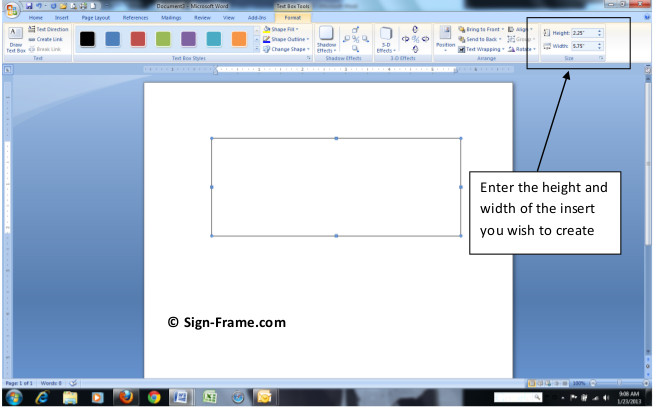
Step 3: To size the text box enter the height and width of the insert you wish to create. The T22 table sign has an insert that measures 2 1/4″ x 5 7/8″ so we will enter the dimensions accordingly as shown below.
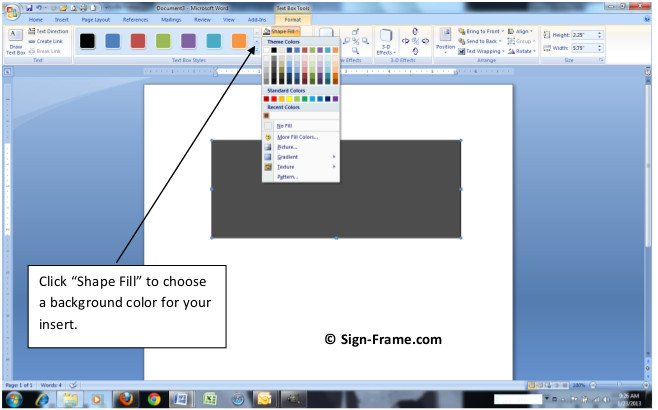
Step 4: Once the size is set you can now choose your background color. Click “Shape Fill” in the toolbar and choose a background color. Rolling your cursor over the color palette will change the color on the background insert until you find the one that best complements your interior design color scheme.
Step 5: Now you can add your text. Add one or more text boxes to your template by clicking the Insert tab and selecting “Draw Text Box” like you did in Step 2. Position the text boxes on the background and choose the font, font color and font size that you desire. In order to eliminate the text box outline click the Format tab -> Shape Outline -> No Outline and now you have just the text. To blend in your text box with the background you’ve chosen, highlight the text box -> right click the text box -> select Format Text Box from the drop down menu -> under Colors and Lines set Transparency to 100%. You can also use the Color drop down and select the color, texture or pattern to match the background you’ve already selected.Here is the header insert that we’ve created.


